

Anyway, just follow her instruction. The bossini T measure just the right size for her so I just need to cut the length correctly at 17" from bottom up. Use the elastic thread to sew the smocked area on top. You can use 12 rows of stitches or more, depending on your preference. But be careful when you sew the smocked as the 2nd line onwards are very tricky after the 1st one was sewn. Have to really hold on to the fabric as the line may go off and the final result is less than perfect. For me, since this is a first attempt on using the elastic thread, I'm quite happy that I don't have loose unwind elastic thread. Maybe the next time, I can do better. (already dreaming of any fairy outfit...).
I've used my newly bought serger : ) ; ) to serge the top part of the smocked area as well as the top part of the tinker skirt. As I follow the instruction, realised that I've to alternate between the elastic thread bobbin and the regular thread. So, to minimise the switch, here's the steps you may like to take when you sew this.
Cutting
1) cut the bottom part of a T-shirt for the main romper (I used the entire width of T-shirt and cut just at armpit area = 17" long)
2) cut the small arc at bottom of the fabric joint (2" arc) around the side of the T-shirt (seam area)
 |
| fold the t-shirt into 1/2 and cut the arc at bottom along side seam |
3) cut the skirt from bottom part of another T-shirt (I used the entire width of the T-shirt, and about 11" in length. You can adjust the length of the skirt according to your preference) Fold the T-shirt lengthwise and draw out the shape. The middle petal shape should be the centre.
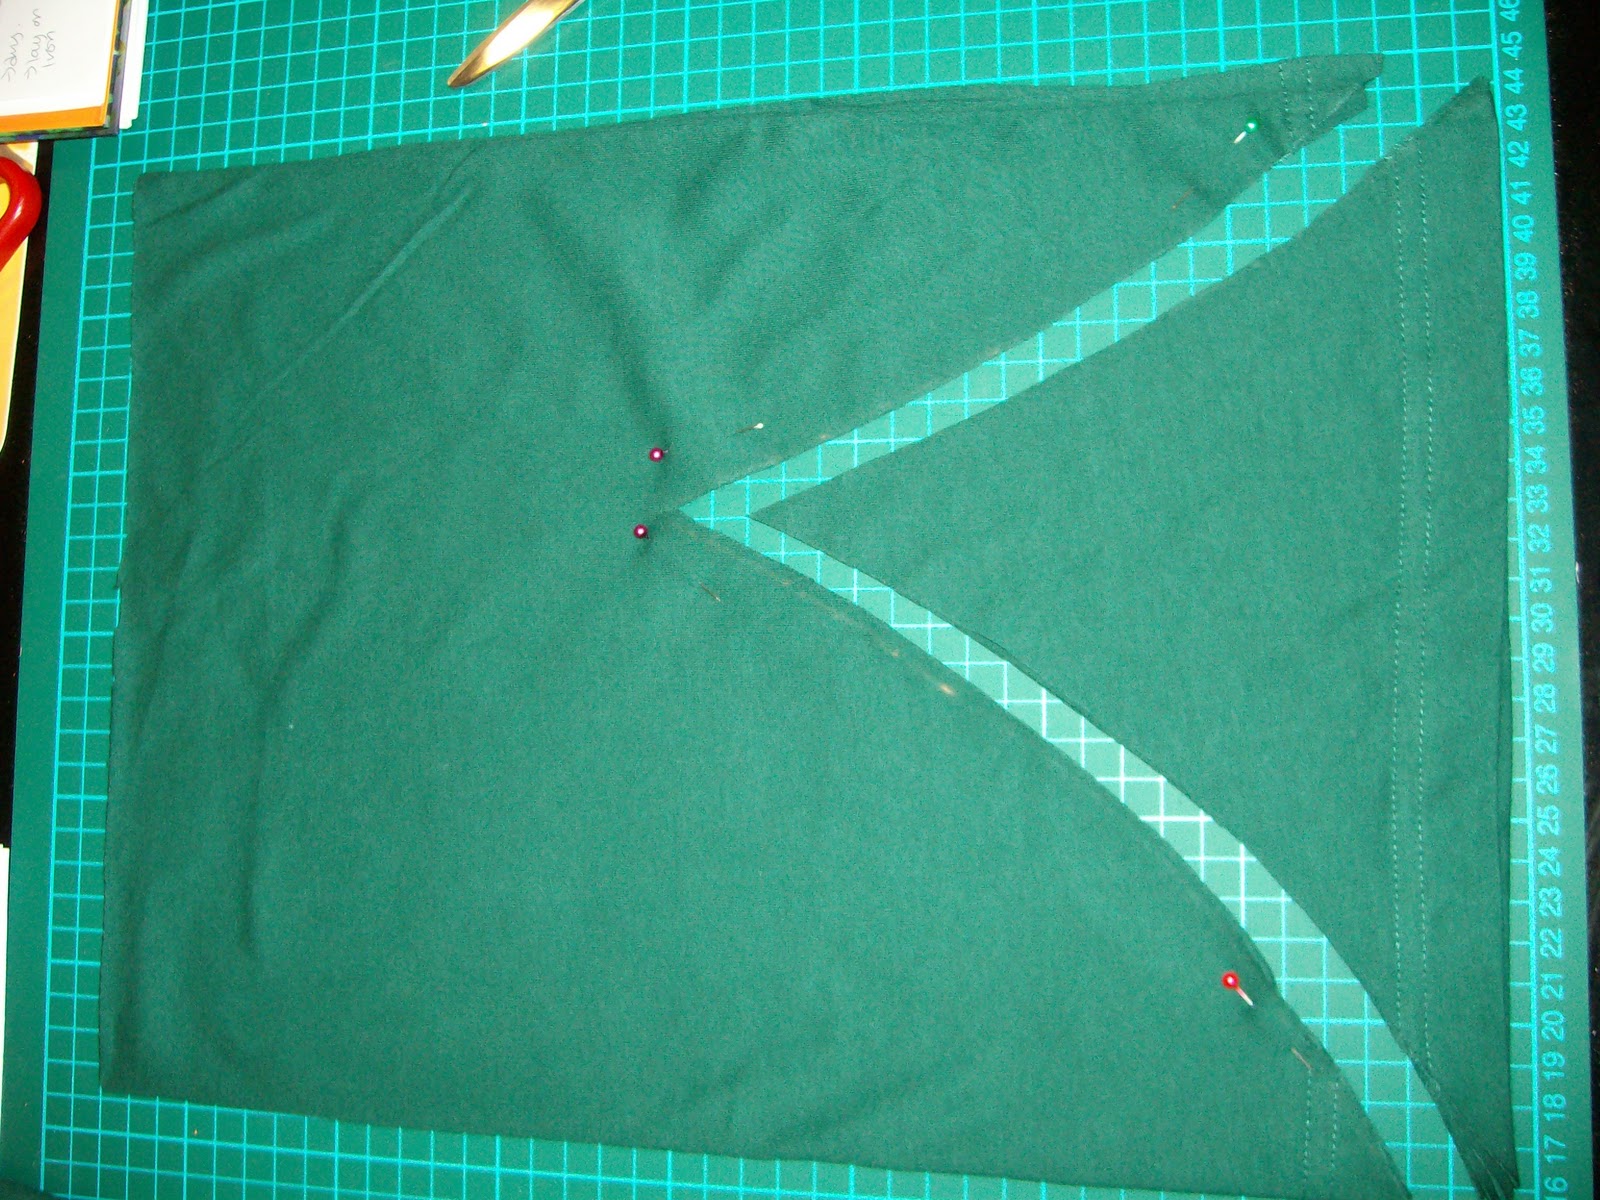 |
| Folded side will be the centre of the skirt |
 |
| open out the skirt. nice and curve petal shape in the middle |
 |
| I just use clothe peg to keep them in place till I sew them together |
1) First serge the top part of the smocked area. You can also use zig zag stitch so that it looks complete. As my bottom of the romper is using the existing T-shirt bottom, the edge already nicely hem.
2) Serge the top part of the skirt. I've used baby lock. I've left the bottom edge free so it looks more fairly-like.
3) Flip the romper inside out and sew around the arc so that now it looks like a cut trouser. Turn it out and again so that the right side face out.
4) Now for the smocked part of the romper. Sew using the elastic thread in the bobbin and normal thread on top. You can follow her instruction. As mine is a continuous loop (it's the whole piece of the T-shirt), I did it alittle bit different. I start at the side of the T-shirt (the part with the joint line) and start sewing 1/2" from the top. Go one round and when I reach the end of the 1st line, I sew a few stitches down and start the 2nd line following closely to the 1st line. This is the tricky part. Since the first is already sewn, it curled abit, so you got to hold on the fabric and sew a straight line. Follow through for the next 12 or so lines. Remember to secure the thread in the beginning and end. Throughout the sewing, I've changed the bobbin 3 times. So, need to do this step 4 times.
5) Using the elastic thread again, sew the bottom of both the romper leg areas. Sew twice around using the existing hem as a guide.

6) Take the skirt portion, and sew using the elastic thread, 1/2" below the serged top of the skirt.
7) Now the assemble part. Attach the skirt to top of the romper by sewing (normal thread) along the last line of the smocked line. You must first determine the front of the romper so that the curve part of the skirt is exactly at the centre of the romper. Since you have sewn the leg part, the option is only the front and back : P
8) Attach the straps to the top of the romper by sewing to the first line of the smocked line.
There you go! Can't wait for my girl to wear them.
Here's my little girl in her tinker romper. She can't stand yet so photo are not so clear.
 |
| finally got her to stand straight! |
 |
| back view |
 |
| how do I look? |
 |
| crawling tinker |
No comments:
Post a Comment