
If you're dropping by, do give me your comments or feedback. It's abit lonesome sometimes and your kinds words would most certainly bring alot of comfort and sweet thoughts. : ) Well, the Chinese new year is just round the corner (3 Feb) and from 3 Feb till 6 Feb we will have alot of visitations to families, relatives and friends and we'll exchange red packets with tokens of cash inside. That's a big draw for the kids but for adults like us who are married, we are at the other Giving end. But it's a season of food, fun and get together among loved ones. I'm looking forward to meeting up and chatting with some of them.
In the meantime, here's a very simple and short tutorial on a fabric organiser that I've made for 2011. I'm kinda old fashion person. I loved to write and doodle on notes instead of using the iphone or e-organiser. I've kept all the past years' organisers and the notes that I took, the events that I recorded is like a diary and brings lots of memories. In these days, I don't think alot of people are like me but if you are, we are like-minded! Every year, I would seek to find new design but keep the format the same. This year, I decided to make one myself.

Fabric
cardboard
cotten cord
organiser pages of your choice
Except for the organiser pages, I've used my existing stock or materials on hand so it's really a economical version.
Instruction
1) Pick up the organiser pages of your choice. I prefer the monthly calender in 1 page and lots of notes pages. Usually I saw a lot of weekly calendar or even daily. Not often do I find one that is functional to me and yet look pretty. I bought these at Popular bookstore at under $6.
 |
| Blank pages, planner 2011, monthly calender pages |


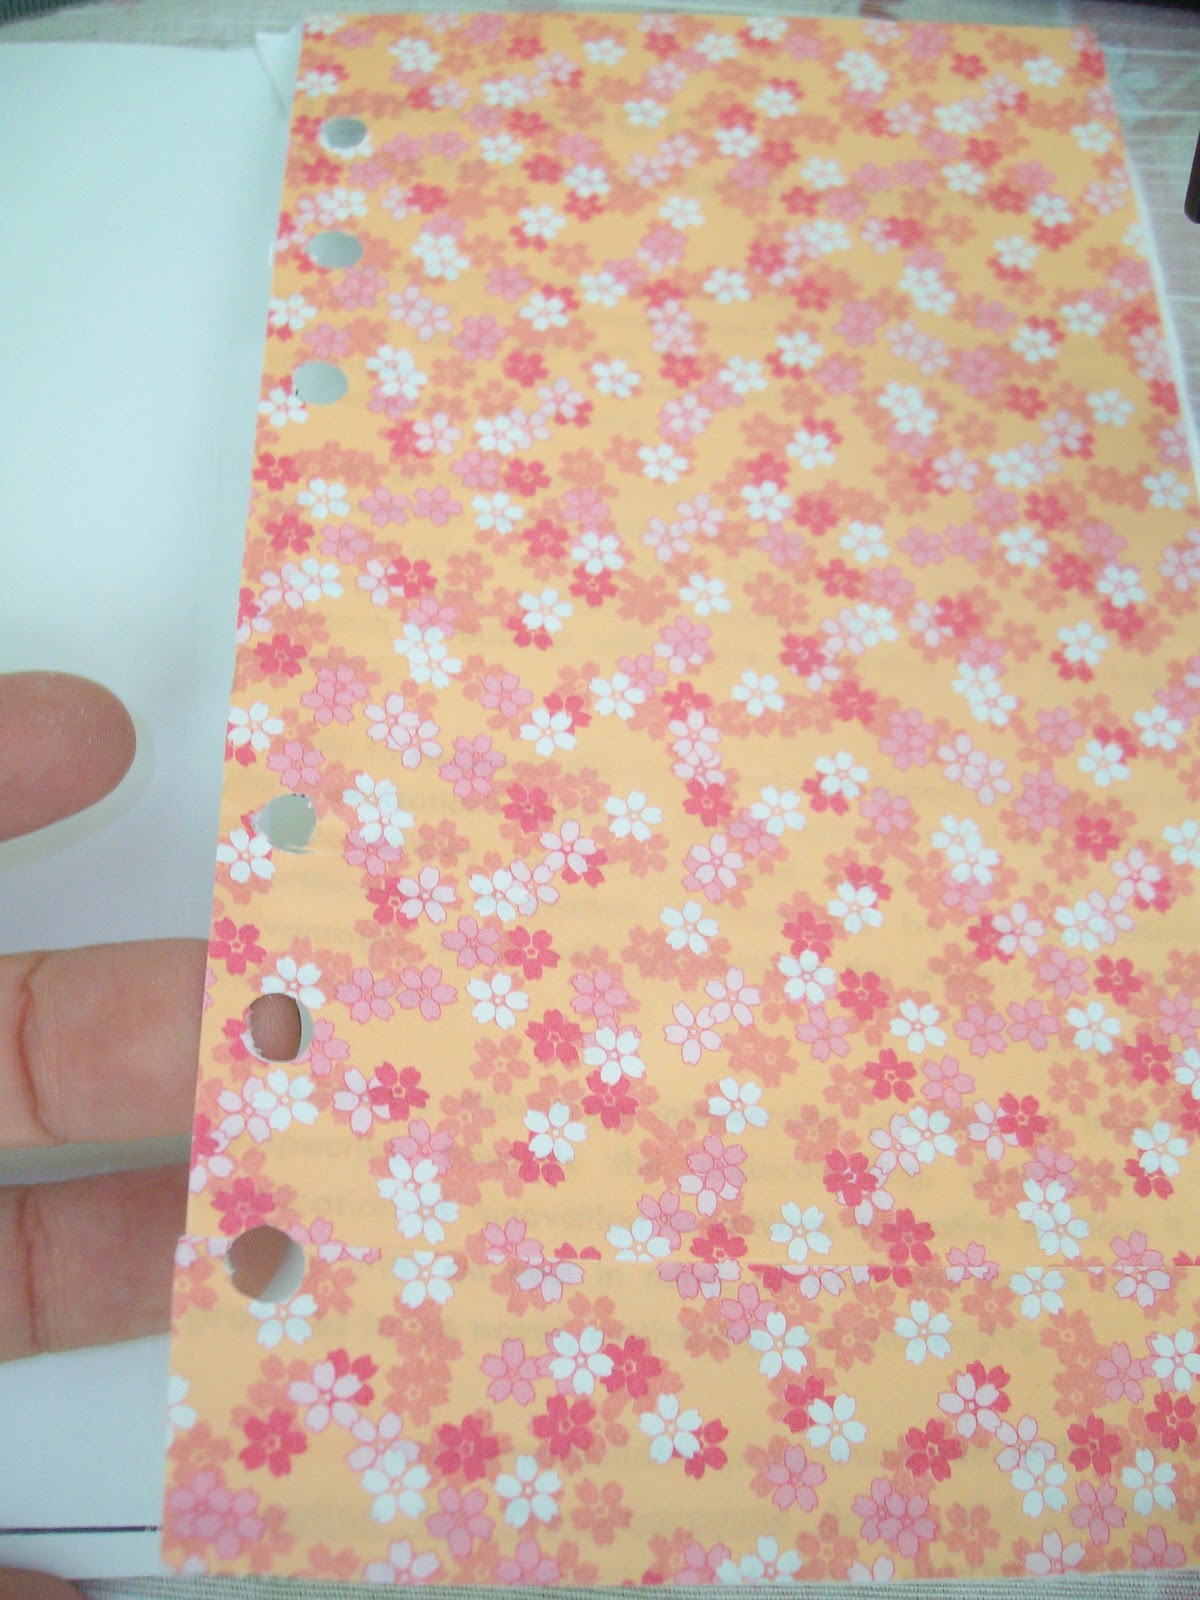
3) Using one of the organiser page, trace out the hole along the edge of the organiser and pouch out the holes.


4) As mine got alot of print, I paste a piece of floral print paper to cover up before I pouch the holes. Bought these cute japanese floral print paper from Daiso at $2 per pack.

5) As the cardboard folder is abit thin, I would like it to have some padding. So I cut the same size fleece that I've left from the previous Angry Bird project using the cardboard as a guide. Then I glue them on the front cover of the cardboard using a glue gun.


6) I've used a Konuno - japanese small cloth that is used for tying your japanese lunch box for this project. I've a few of them from my japanese friends and the print are so pretty. Decided to use the pink one. Cut out slightly bigger than the cover as you need to fold over the fabric.

7) Pull the fabric tight over the cover and use the glue gun, quickly but firmly pressed the fabric to the cover that now has a nice padding.

8) Now to tie the organiser pages to the cover. Using the cotton cord, cut about 60cm (you can do a rough estimation, it's better to be too long than short here) and I've used abit of the tacking glue to make the ends of the cords harden so that it's easier to thread them through the holes.

9) The organiser that I bought has 6 holes, so I did some looping and ensure that the finishing holes are in the middle. Tie a knot in the middle.


10) If your organiser is too bulky, you can bring one of the cord back under the pages and keep the other on top and pin them using a clip. That's it. Pretty?

No comments:
Post a Comment