

I realized that the post is a bit long so I'm splitting this up into 2 posts.
Material
1/2 yard cotton fabric
matching ribbon
elastic bands (about 12")
Instruction
Front panel
1) From the 1/2 yard, cut out a piece of fabric of about 5" wide. This width will depend how wide you want the centre front panel to be.

2) Cut away the bottom of the panel. My panel is about 5" wide and 7" long. The length will also depend how long you want the panel to be so measure your kid first.
I've chose the eyelet to be on the front panel but if you like the character print more, you can also chose to have that as the front panel as the main focus.

3) Fold the top of the fabric to the back, making sure to cover the eyelet. Press.

4) Pin and sew 2 rows of stitches above and below the eyelets. Try to sew neatly as this will form the ribbon casing later on. As you are using the selvage of the fabric, the raw edge of the folded fabric will not fray.

As the fabric is thin, I also iron some interfacing behind and sew another piece of coordinating fabric of same size behind.
Shoulder Straps
1) Cut the bottom of the fabric with the scallop print to make the straps. As this strap stretch from the waist up to the front panel, this will be longer than the shoulder strap of the tunic. Measure your kid to get the right length to cut. Mine was 19.5" each.

2) Refer to the same method of making the strap from the scallop tunic tutorial.

3) Pin the strap to one side of the front panel. I've tried to have 4 eyelets in front panel so the strap nicely line up beside the edge of eyelet.

4) Before you sew, insert one end of the ribbon through the first eyelet into the seam allowance under the straps. This will ensure that you will sew the ribbon down when you sew the strap to the front panel. Sew from the bottom of panel and stop at the top of panel.

Do the same for the other ribbon and strap
Making the skirt
1) Cut away the red strip along the bottom of the fabric. Cut neatly as this will be used as the waistband later on and you will need to insert elastic band through. We call this Fabric A.

2) Also cut away the top strap bearing the eyelets, about 2" below the eyelets. Cut neatly also as we will attach this later to the bottom of the dress.

3) Then, cut off the fabric above the eyelets, about 1" above the eyelet. Cut neatly again as we will be using the cut-off for the backing of the waistband later! See, I told you I'm using almost every single bit of the fabric! Let's call this fabric B.

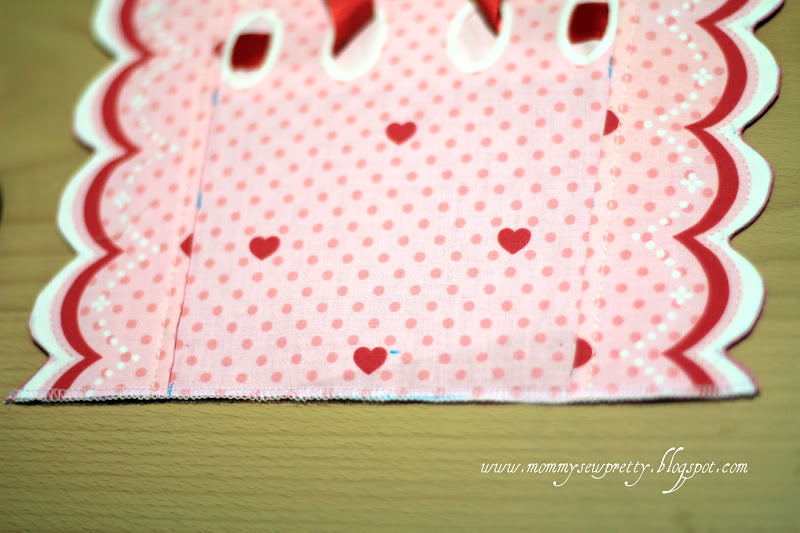
4) Take the eyelet fabric strip. Serge the raw edge and fold over and sew. This will form the hem of your dress. Press.

5) Pin the hem strip to the bottom of the main skirt, align the seams and fabric are right side facing.

Sew with 3/8" seam allowance. Serge seams.

Flip the hem to right side and press the seams down and stitch the seams down.
Before hemming:

Before hemming:

After: The new hem

Waistband
1) Pin the Fabric A (red strip) and Fabric B, right side facing, aligning seams.

2) Sew along the top, just 1/8" above the red strip. Turn the strip right side out and press.

3) For the other seams, sew them together, lengthwise, just 1/8" below the red strip. We are making the elastic casing here. So make sure that the tube that you have just made can insert in a 5/8" elastic band, or whatever size elastic band you got.

4) Attach the waistband to the main skirt, with right side facing, aligning the seams. The raw edge of the waistband should align to the top of the skirt. Pin in place and sew with 3/8" seam allowance.

That's it for Part 1. Will continue on attaching the front panel to skirt and elastic band in next post!
No comments:
Post a Comment